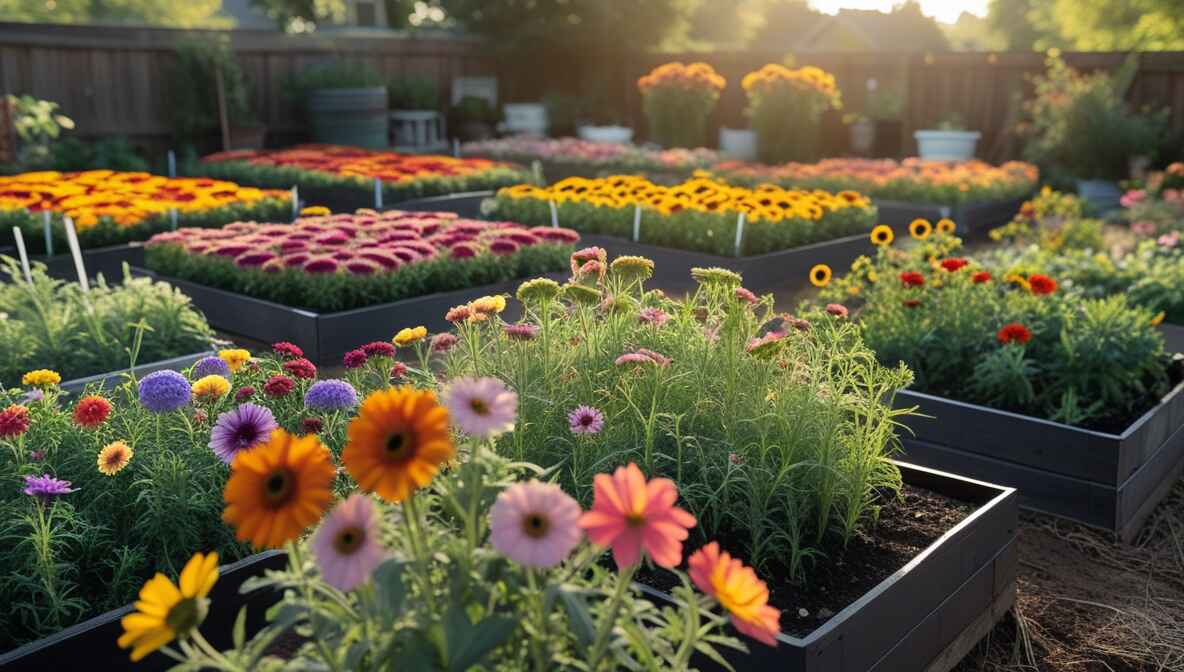
If you’ve ever dreamed of filling your home with fresh, vibrant blooms, starting cut flowers from seed is the perfect place to begin. Starting a cut flower garden from seed is one of the most rewarding experiences for any gardener. I’m Flora Lane, and after years of nurturing blooms that brighten both my home and those of friends and family, I know firsthand the joy and sometimes the challenges that come with seed starting for cut flowers.
Whether you’re planting zinnias for vibrant bouquets or dahlias for late-summer charm, getting your seeds off to a strong start sets the stage for a flourishing garden. I’m here to guide you through every step with warmth, practical advice, and the kind of support I wish I had when I first began. Together, let’s turn those tiny seeds into a bounty of gorgeous blooms that fill your world with color and happiness.
Why Start Cut Flowers from Seed?
Starting flowers from seed allows you to explore a wider variety of blooms than you might find at the nursery. It’s also cost-effective and deeply satisfying to watch your garden grow from the very beginning. Plus, growing from seed often results in stronger plants that adapt better to your garden’s unique environment.
When to Start Your Seeds
Timing is everything when it comes to seed starting for cut flowers. Start by figuring out your last frost date and work backward to plan your seed starting schedule.
How to Find Your Last Frost Date
Your local extension office or reliable online gardening calendars can provide this info. For example, in most parts of the U.S. last frost dates range from late March to mid-May.
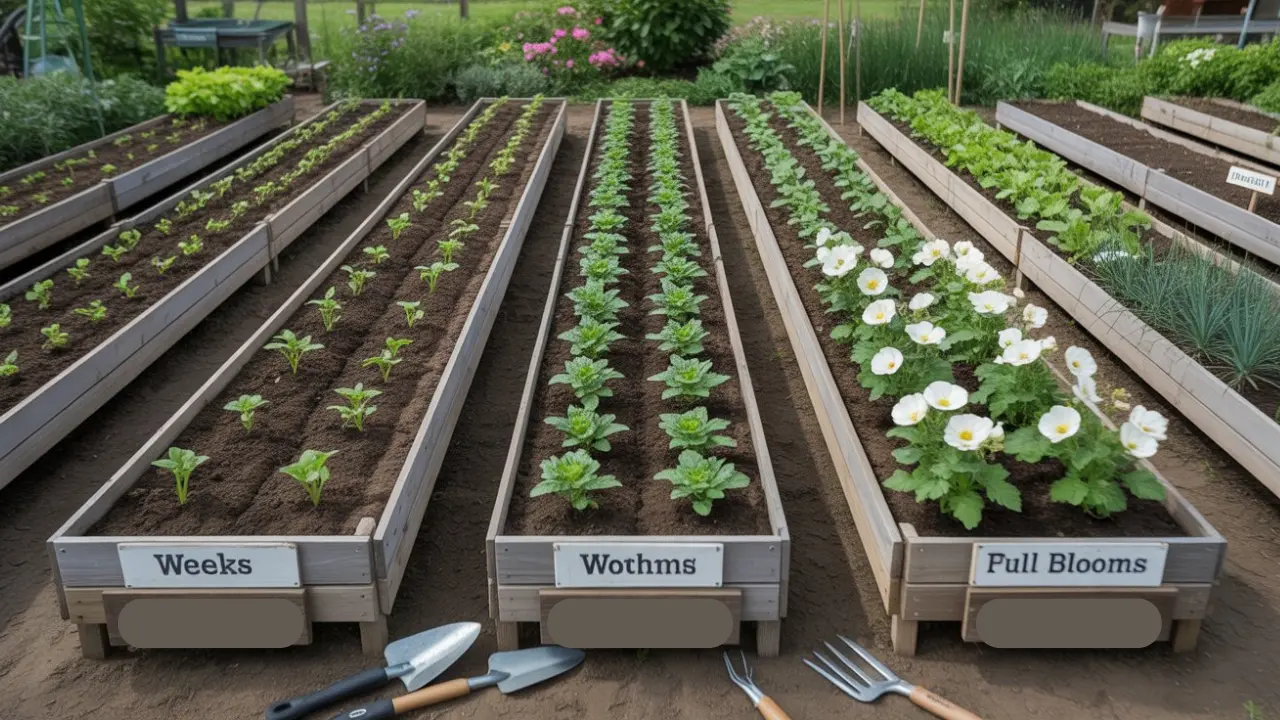
Seed Starting Timeline
| Flower Type | Indoor Seed Starting Time (Weeks Before Last Frost) | Direct Sow After Frost? | Light Requirements |
|---|---|---|---|
| Zinnias | 4-6 weeks | Yes | Full sun |
| Dahlias | 6-8 weeks | No | Full to partial sun |
| Cosmos | 4-6 weeks | Yes | Full sun |
| Sunflowers | 2-4 weeks | Yes | Full sun |
| Celosia | 6-8 weeks | No | Full sun |
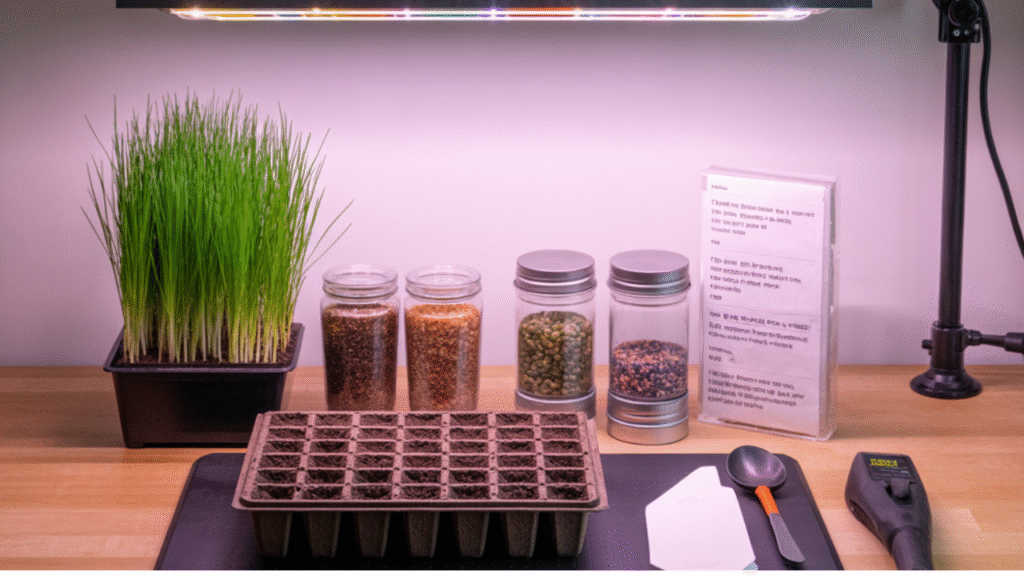
Essential Supplies for Seed Starting
Setting up your seed starting station properly makes all the difference.One thing I’ve learned is that you don’t need fancy or expensive equipment to get started. Many gardeners reuse household items like yogurt cups, egg cartons or even paper pots. As long as containers have drainage holes, they can work beautifully. This not only saves money but also makes seed starting more sustainable.
- Seed trays or containers: Choose ones with good drainage.
- Seed starting mix: Use a light, well-draining mix-not regular potting soil.
- Heating mat (optional): Helps seeds germinate faster, especially in cooler environments.
- Grow lights: Provide consistent light to prevent leggy seedlings.
- Labels: Keep track of what you’ve planted.
Step-by-Step Guide to Seed Starting for Cut Flowers
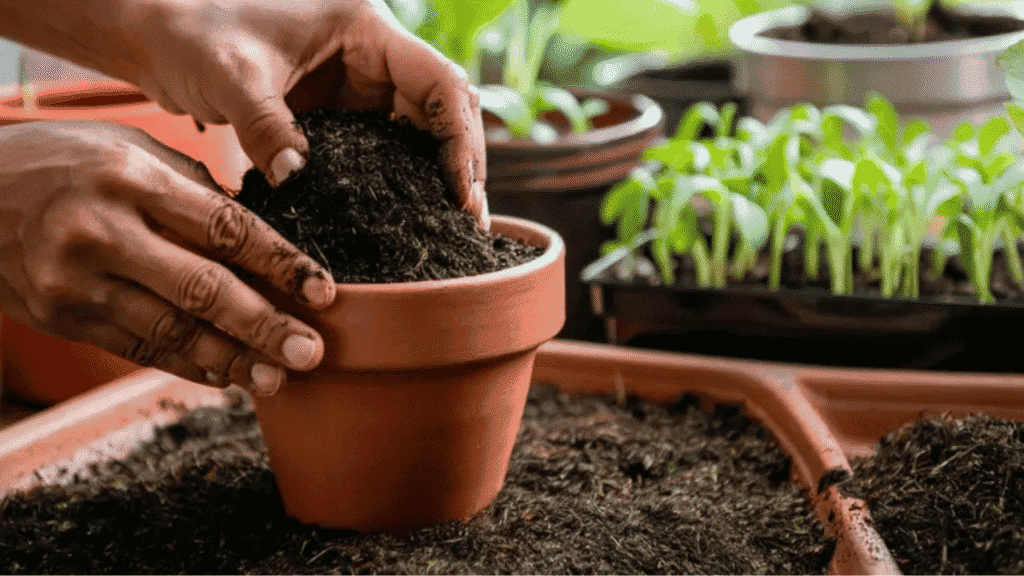
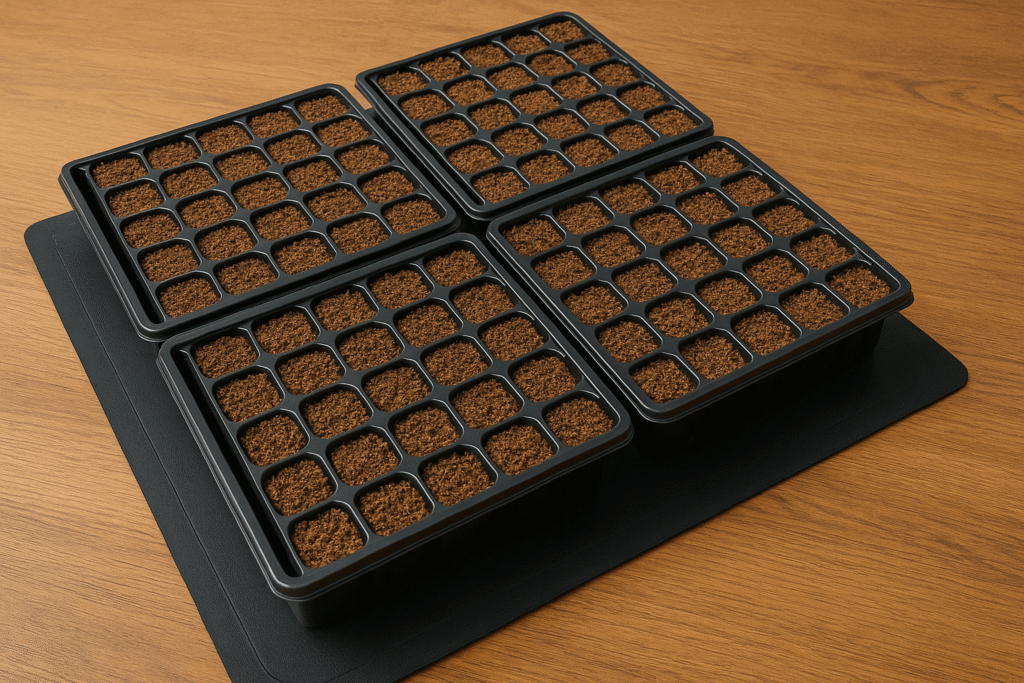
Preparing Your Containers and Soil
Fill your trays with seed starting mix, moisten it evenly, and gently firm the surface.
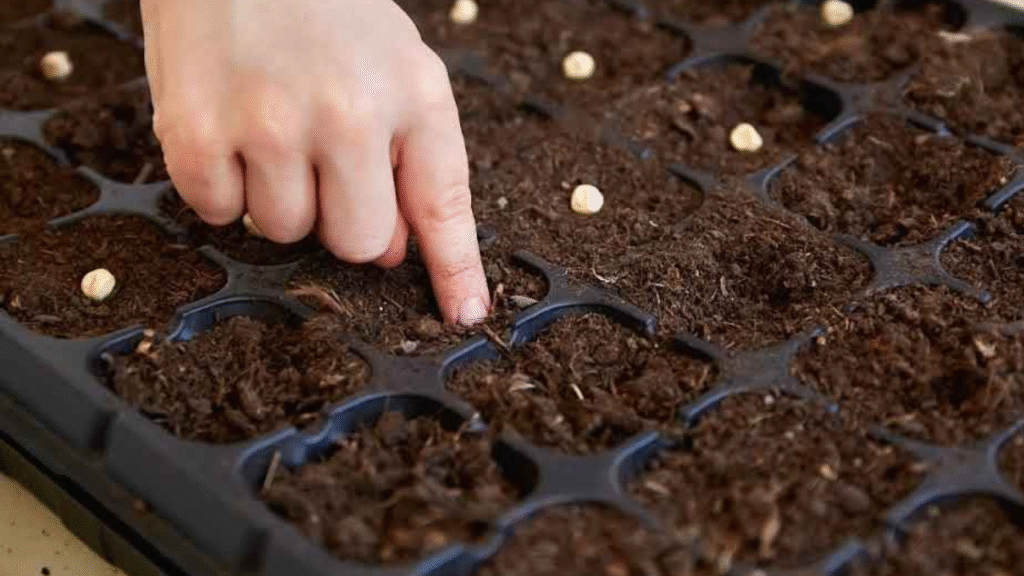
Planting Your Seeds
Follow the packet instructions on planting depth. A good rule of thumb is to plant seeds at a depth about twice their size.
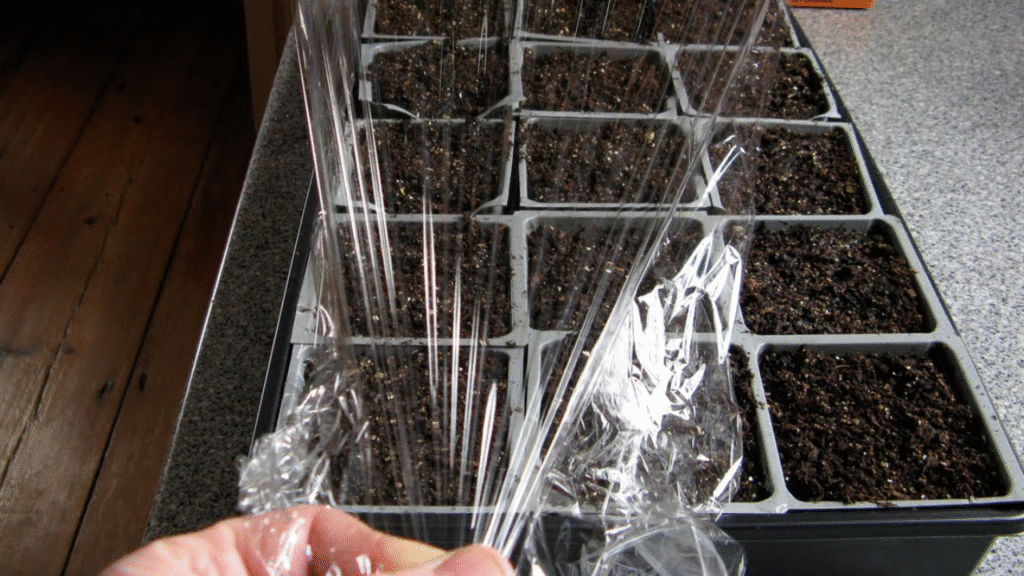
Watering and Covering
Water gently to settle the soil. Cover your trays with a clear lid or plastic wrap to maintain moisture until germination.
Providing Optimal Conditions
Seed trays on heating mat providing warmth for seed germination
Place your trays on a heating mat or a warm spot (around 70–75°F) if possible. Once sprouts appear, remove covers and provide plenty of light.
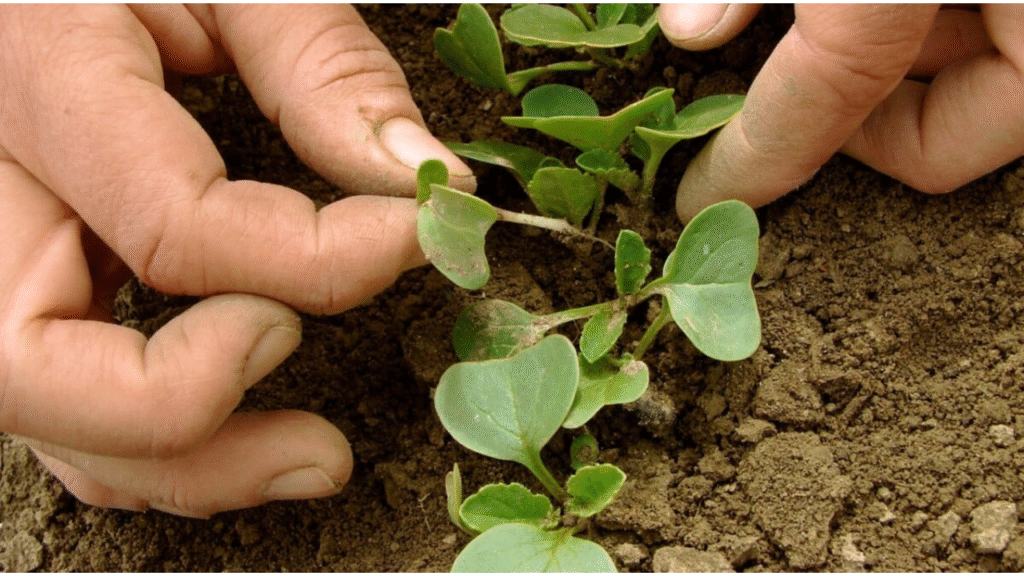
Thinning Seedlings
When seedlings develop their first true leaves, thin them by snipping weaker ones at the base, allowing the strongest to thrive.Thinning can feel a little heartbreaking the first time, because it means snipping out seedlings you worked hard to sprout. But remember, giving space to the strongest seedlings ensures healthier, longer-lasting plants. Think of it as focusing your care and energy where it will have the biggest impact.
Troubleshooting Common Seed Starting Problems
- Damping off: This fungal disease causes seedlings to collapse. Prevent it by ensuring good airflow and avoiding overwatering.
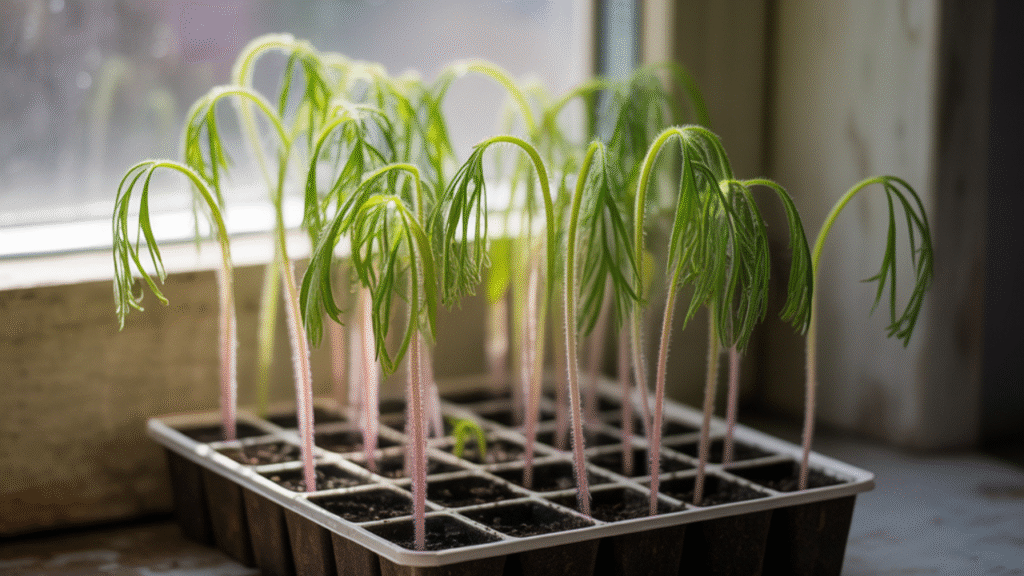
- Leggy seedlings: If seedlings stretch and become weak, increase light exposure or move them closer to grow lights.
- Slow germination: Check seed viability and temperature; some seeds require warmth or pre-treatment like soaking or cold stratification.
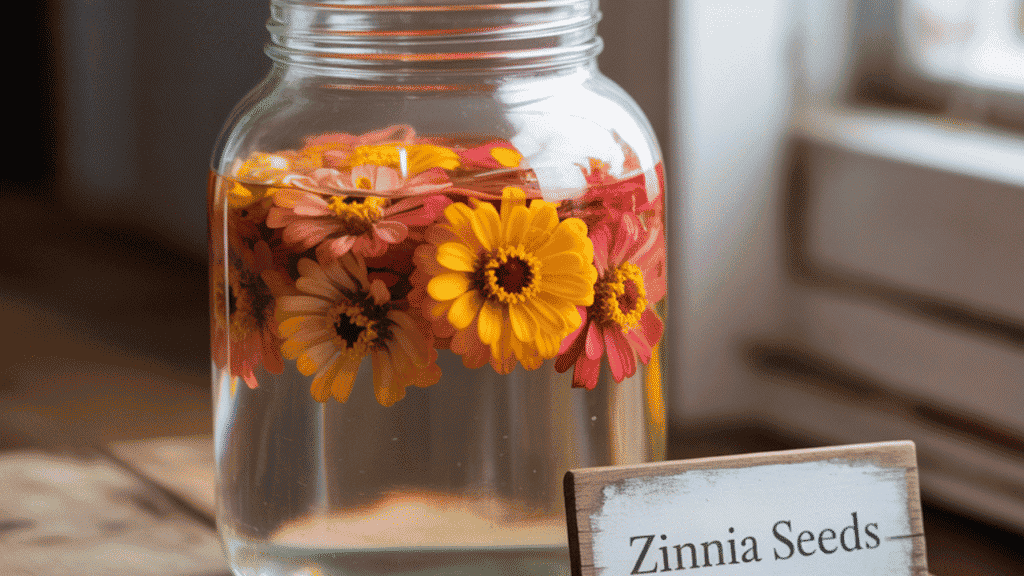
Flora’s Personal Tip
From my own experience, soaking zinnia seeds overnight in water before planting can help speed up germination and improve sprouting rates. It’s a simple step that made a big difference in my early gardening days
Practical Tips for Success
- Use fresh, quality seeds from reputable suppliers.
- Label everything clearly to avoid confusion.
- Keep the soil consistently moist but never soggy.
- Harden off seedlings by gradually exposing them to outdoor conditions before transplanting.
Why Seed Starting Matters for Cut Flower Gardeners
Seed starting for cut flowers isn’t just a practical task it’s a nurturing ritual that connects you to the life cycle of your blooms. When you care for your seedlings with patience and attention, you invite resilience and beauty into your garden. Each seed you start holds the promise of color, scent, and joy that will enrich your days.
Conclusion
Starting cut flowers from seed can seem daunting at first, but with the right knowledge and a little love, it’s a deeply rewarding journey. I hope this guide inspires you to embrace seed starting with confidence and excitement. Remember, every expert gardener began with a single seed nurture yours, and watch your garden bloom into something truly magical.
FAQs
Q1: Can I start all cut flowers indoors?
Not all cut flowers need indoor starting. Some, like zinnias and sunflowers, can be direct sown outdoors after the last frost, while others like dahlias benefit from indoor starts.
Q2: How long does it take for cut flower seeds to germinate?
Most cut flower seeds sprout within 7–21 days, depending on species and conditions.
Q3: When should I transplant seedlings outside?
Transplant seedlings after the danger of frost has passed and after hardening them off for about 7–10 days by gradually exposing them to outdoor weather.