There’s a quiet kind of joy in digging your fingers into the soil and tucking away a dahlia tuber, knowing it holds the promise of vivid, sun blooms come summer. I still remember my first year planting dahlias I was nervous, unsure if I was doing it right. I stored the tubers too damp and by spring, they had turned soft and lifeless. It broke my heart But with each season, I learned how to listen to my dahlias, care for them gently and give them what they need to thrive.
If you’re just starting your cut flower garden journey, know this caring for dahlia tubers doesn’t have to be overwhelming. In fact, with just a little know-how and tender attention you can grow strong, stunning plants that reward you with endless blooms. Let’s walk through it all together from storage to sprout to spectacular bloom.
What Are Dahlia Tubers and Why Is Proper Care Important?
Dahlia tubers are the underground storage roots of the dahlia plant kind of like a hidden pantry packed with energy for future growth. Unlike seeds or typical bulbs, these knobby, finger-like roots hold all the nutrients the plant needs to reawaken in spring. Each tuber contains a little eye (or growth point) and from that one spot an entire plant can emerge if given the right conditions.
When it comes to Dahlia Tuber Care Tips, understanding the tuber itself is your first step. These little powerhouses are surprisingly delicate. If they dry out too much, rot or freeze during winter, they may not sprout at all. On the flip side, if stored and planted properly, tubers can bloom beautifully for years saving you time, money and heartache season after season.
Caring for your tubers is about more than just gardening it’s about nurturing life before it even breaks the soil.
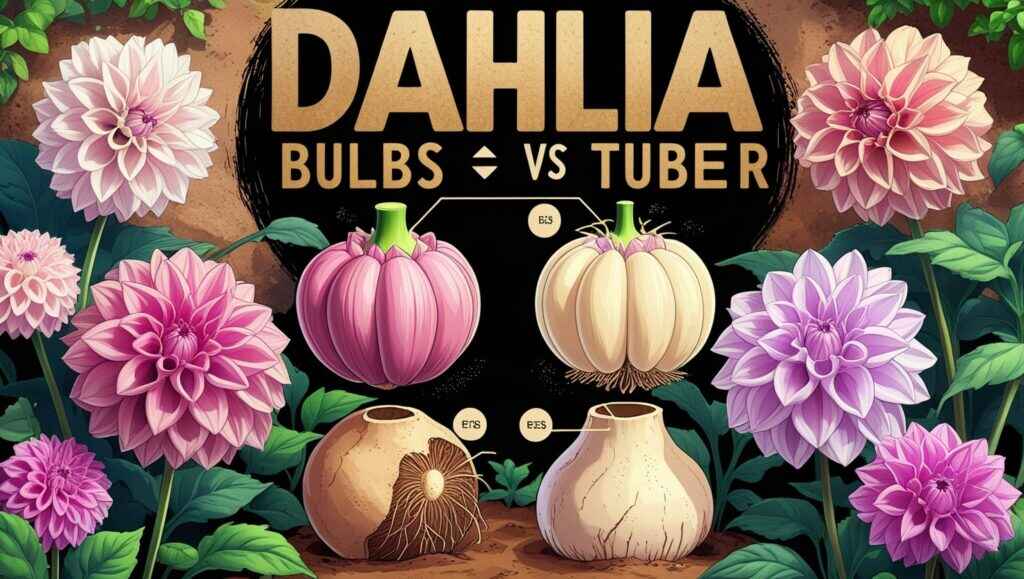
How Tubers Differ from Regular Bulbs
It’s easy to confuse tubers with bulbs, but they’re quite different under the soil. Think of bulbs like tulips or daffodils as pre packaged plants. They have layers, like an onion and contain both the food supply and the baby plant inside.
Dahlia tubers, on the other hand are root structures, not layered bulbs. Each individual tuber must have an eye that tiny growing point where the new stem will emerge. Without it the tuber won’t sprout. They don’t store energy the same way bulbs do and they’re far more sensitive to moisture and handling.
Understanding this difference is essential to proper care. With bulbs you can plant and forget. But with tubers, a little extra attention especially in storage and early spring goes a long way. That’s why Dahlia Tuber Care Tips focus so much on moisture control, inspection and planting technique.
Common Problems with Poor Care (rot, no sprouting, weak plants)
I’ll be honest most of my early dahlia heartbreaks came from not knowing what I didn’t know. One spring, I opened a storage box to find half my tubers mushy with rot. Another year, I planted them too deep in soggy soil and they never sprouted. These are common mistakes and thankfully, they’re easy to prevent with the right care.
Here are a few issues you might face if tubers aren’t handled properly:
- Rotting tubers: Caused by too much moisture during storage or planting. If they feel soft or smell sour, they’re likely gone.
- No sprouting: Often due to tubers that are either dried out or missing growth eyes.
- Weak plants: Poor soil nutrition or damaged tubers can lead to spindly stems and fewer blooms.
Flora’s Tip: Always inspect your tubers like you would check fruit at the grocery store firm, healthy, and blemish-free is what you’re after.
With these Dahlia Tuber Care Tips, you can avoid these pitfalls and set yourself up for a healthy, blooming season.
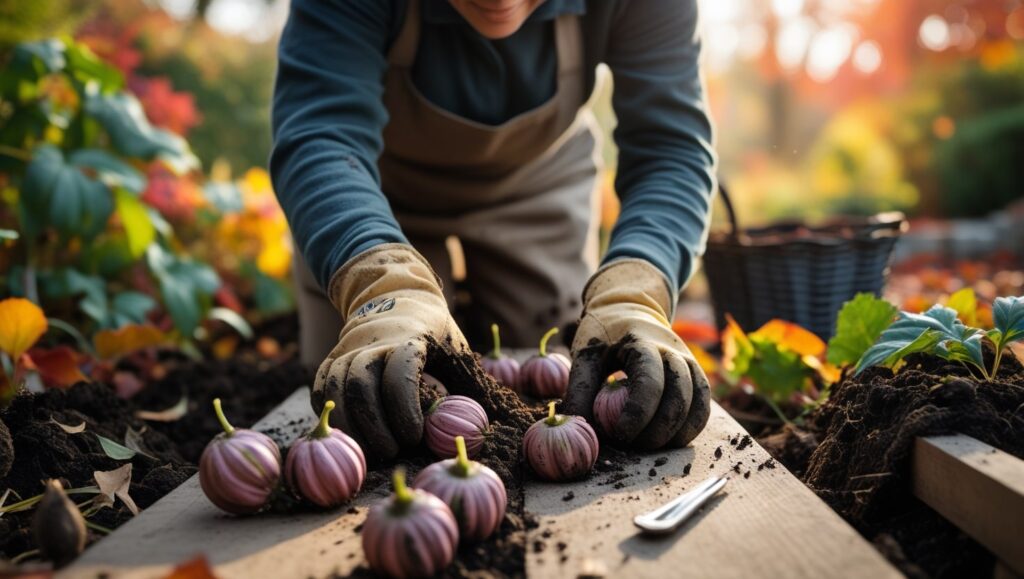
Pre-Planting Dahlia Tuber Care
Before your dahlias ever touch the soil, how you handle them makes a big difference. Think of this stage like prepping a baby for its first big day outside gentle, thorough and full of love.
In my early gardening days, I used to rush this part eager to get blooms. But over time, I learned that pre-planting care is where strong, healthy dahlias really begin. It’s not just about surviving winter it’s about waking them up right.
From inspecting each tuber for rot or eyes, to deciding whether to soak or dust them and making sure they’re stored in just the right place until planting time every step matters. If you’re looking for solid, foolproof Dahlia Tuber Care Tips, this is where we start setting your dahlias up for long-term success.
Let’s go step by step so you can plant with confidence.
How to Inspect Tubers Before Planting
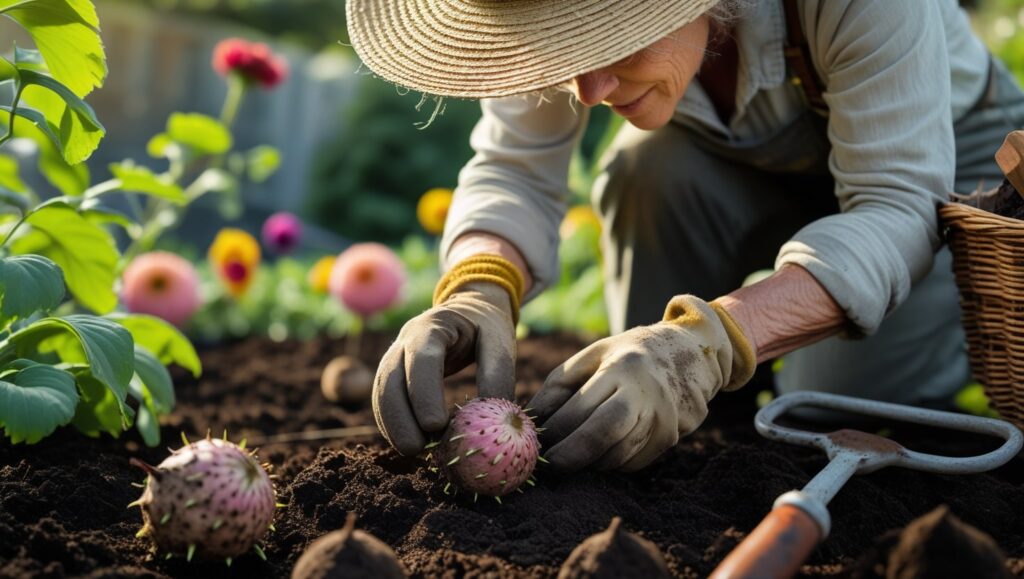
Start by gently removing any storage medium like peat moss, sawdust or vermiculite. Hold each tuber in your hand and check three key things:
- Firmness: A healthy dahlia tuber feels plump and firm, not mushy or shriveled.
- Eyes (growth points): Look near the stem or neck for tiny bumps these are the eyes. No eye, no plant.
- Damage or rot: Discard any that smell bad, have black soft spots, or show signs of mold.
Flora’s Tip: Don’t panic if only a few tubers in a clump have eyes that’s normal. Just separate the good ones for planting.
Careful inspection is one of my favorite Dahlia Tuber Care Tips it gives me a quiet moment to connect with the season ahead.
Soaking or Dusting Tubers: Should You Do It?
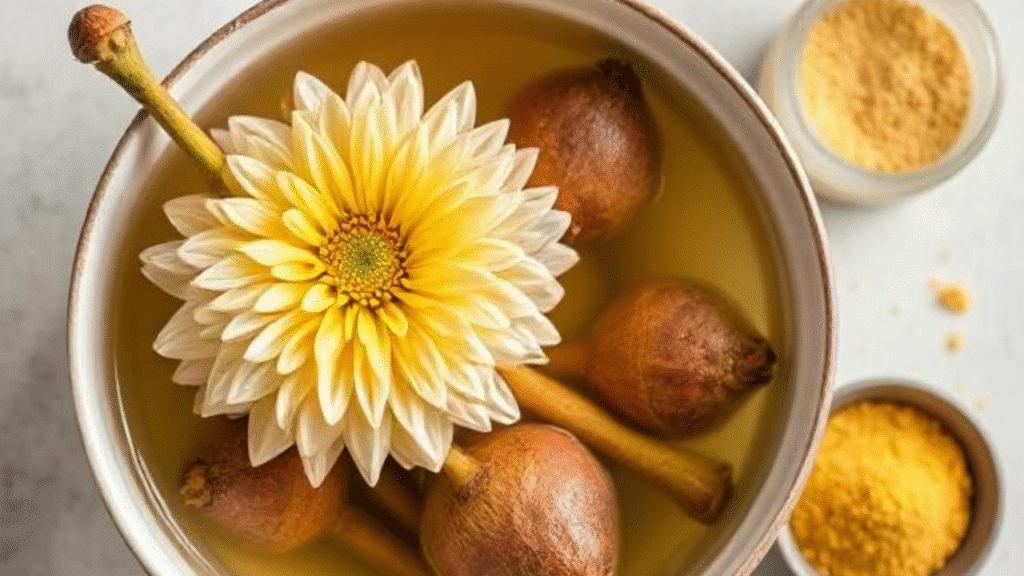
Some gardeners swear by soaking tubers to wake them up. Personally, I only do this if the tubers feel a little dry. A 1–2 hour soak in lukewarm water can rehydrate them gently.
Dusting, on the other hand, is a protective measure. You can use powdered sulfur or a natural antifungal dust to coat cut ends or minor wounds. It’s especially helpful if you had to divide the tubers or trim away rot.
Here’s a quick guide:
| Tuber Condition | Best Practice |
|---|---|
| Firm, healthy | No soak or dust needed |
| Slightly shriveled | Soak in water (1–2 hrs) |
| Freshly cut or split | Dust with sulfur or cinnamon |
Always remember: more is not better. Only treat what needs treating. Dahlia tubers are tough but don’t like fussing.
Ideal Storage Conditions Before Planting (late winter to spring)
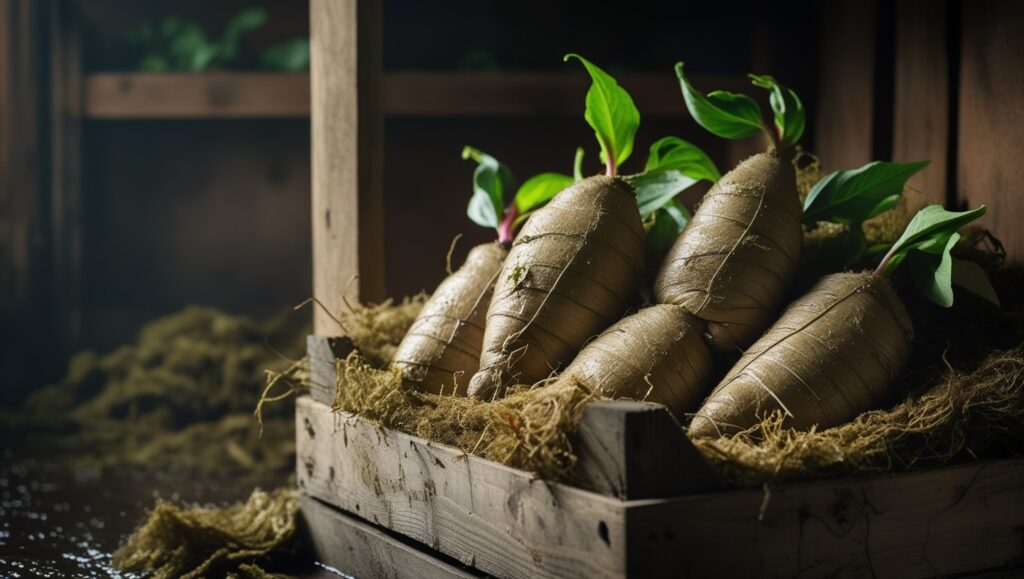
If your planting date is still a few weeks away, you’ll want to give your tubers the spa treatment. Store them in a cool, dry, dark space ideally between 40–50°F (4–10°C). Avoid freezing temps and direct sunlight.
Do’s:
- Use breathable containers (like cardboard boxes or paper bags)
- Add dry peat moss or vermiculite for moisture control
- Check them every couple of weeks
Don’ts:
- Don’t let them sit in plastic (it traps moisture)
- Don’t store near heat sources (can dry them out)
This stage is crucial in Dahlia Tuber Care Tips keeping tubers stable and protected until the soil warms is the secret to strong spring growth.
Dahlia Tuber Care While They’re Growing
Once your dahlias are in the ground, the care focus shifts from protection to nurturing. This is when tubers turn into tall blooming wonders. But behind those blooms is a network of roots that still need thoughtful attention.
I always tell beginners: don’t “plant and forget.” Dahlia roots are alive and responsive to your choices especially with water, nutrients and soil conditions.
Let’s dive into the best ways to support healthy tuber growth during the growing season.
Soil Moisture Tips — Preventing Rot in the Ground
This one’s big. Overwatering is one of the most common reasons tubers rot in the ground.
Here are a few must-follow Dahlia Tuber Care Tips to manage soil moisture:
- Wait to water: Don’t water after planting until you see green shoots above ground.
- Use well-drained soil: Raised beds or amended garden beds work best.
- Mulch wisely: A light layer helps keep moisture balanced but don’t smother them.
Flora’s Tip: Stick your finger in the soil up to your second knuckle. If it feels dry, it’s time to water.
Supporting Healthy Tuber Growth
To grow strong tubers for next year’s storage, start with healthy plants. That means sunlight, airflow and spacing.
Here’s how I keep mine thriving:
- Full sun: At least 6–8 hours daily
- Spacing: Leave 12–18 inches between plants to avoid mildew
- Pinching: Once plants are 12 inches tall, pinch the top two sets of leaves to encourage bushiness
These little actions not only help blooms but also strengthen the underground tubers for future seasons.
Fertilizing Without Damaging Tubers
Dahlias are hungry plants but they’re also sensitive. Use a low-nitrogen fertilizer (like 5-10-10 or 10-20-20) to promote root and flower growth.
Do this:
- Start feeding 2–3 weeks after planting
- Feed every 3–4 weeks through mid-August
- Water deeply after each application
Avoid this:
- Too much nitrogen = lush leaves, no blooms
- Fertilizing before sprouting = risk of burning tubers
One of the smartest Dahlia Tuber Care Tips is remembering this: fertilize for the flowers you want, not just the leaves you see.
Lifting and Cleaning Tubers at Season’s End
Fall comes quietly in the garden, and it’s easy to let things fade. But lifting and storing dahlia tubers correctly is how we preserve the magic for next year.
I treat this part of the process like a gentle goodbye and a promise to meet again.
When and How to Dig Them Up
Wait until the first light frost blackens the leaves this signals the plant to start storing energy in the tubers.
Steps to lift them gently:
- Cut stems down to 4–6 inches
- Use a fork (not a shovel!) to lift the clump from below
- Shake off loose soil, but don’t wash them yet
Flora’s Tip: Label them before digging if you grow multiple varieties. I’ve lost many a favorite because I forgot who was who!
Cleaning and Drying Safely
Once lifted, it’s time to clean and cure the tubers:
- Rinse with cool water to remove soil
- Let them air dry for 3–5 days in a cool, shaded area
- Turn them daily to prevent mold
After drying, inspect again and divide if needed. Store only the firm, eye-bearing tubers.
This final step in our Dahlia Tuber Care Tips journey helps ensure a fresh, strong start for next season and gives you a quiet winter task to look forward to.
Storing Dahlia Tubers Over Winter
Winter storage can feel intimidating at first I know I lost quite a few tubers my first year because I thought they’d be fine in the garage. But once you get the hang of it, it becomes a cozy end-of-season ritual, like tucking your dahlias into bed.
Your main goal is to keep tubers cool, dry and protected from rot or shriveling. Let’s walk through the must-know steps.
Best Materials (peat moss, vermiculite, etc.)
Choosing the right storage material helps regulate moisture too little and tubers dry out too much and they rot.
Here are a few good options:
- Peat moss: My personal favorite naturally absorbent and protective
- Vermiculite: Great for air circulation and moisture balance
- Sawdust or wood shavings: Fine, but make sure it’s untreated
- Shredded paper: Works in a pinch but monitor more closely
Gently layer tubers between dry material in a ventilated container. Don’t pack them too tight they need to breathe
Ideal Temperature and Humidity
The sweet spot for storing tubers is 40–50°F (4–10°C). Too cold and they’ll freeze, too warm and they may sprout early or rot.
Humidity should be moderate around 70%. In dry climates, you can lightly mist the storage medium (not the tubers themselves) once a month.
Flora’s Tip: A basement, insulated garage or root cellar can be perfect. Just avoid anywhere with big temperature swings.
Labeling and Monitoring for Mold or Shriveling
This step has saved me many headaches: label everything clearly before storage by variety, color or bloom size.
Then, do a quick check every 3–4 weeks:
- Remove any mushy or moldy tubers immediately
- If they look wrinkled, lightly mist the storage medium
- If sprouting early, move to a cooler location
Keeping a small notebook or notes app for tracking can help if you’re storing lots of varieties.
Troubleshooting Common Tuber Issues
Even with the best care, things can go wrong and that’s okay. Part of gardening is learning through the bumps and surprises.
Let’s troubleshoot the most common issues you might face with overwintering and early spring prep.
Signs of Rot or Mold
Rotting tubers often:
- Feel mushy or slimy
- Smell sour or musty
- Appear blackened or streaky
If the rot is localized, you can sometimes cut it away with a clean knife and dust the area with sulfur powder. But if most of the tuber is soft, it’s best to discard it.
White mold on the surface isn’t always fatal just wipe it off and monitor.
Dehydrated vs. Healthy Tubers
Tubers naturally lose a little moisture over winter. But there’s a line between a little dry and too far gone.
| Condition | Signs | What to Do |
|---|---|---|
| Healthy | Firm, plump, slight wrinkles | Store as usual |
| Slightly dehydrated | Wrinkled, still firm | Mist storage medium lightly |
| Severely shriveled | Paper-thin, hollow, brittle | Likely unsalvageable |
If in doubt, try soaking a test tuber in lukewarm water for 1–2 hours before planting it might perk back up
Reviving Tubers in Spring
If your tubers made it through winter but seem sluggish, don’t give up on them just yet.
Here’s how I revive tired tubers:
- Soak for 1–2 hours in water mixed with a pinch of kelp or seaweed extract
- Place in a tray with barely damp soil in a warm spot (70°F)
- Watch for eyes to swell before planting outdoors
Final Tips for Long-Term Dahlia Tuber Success
The magic of dahlias is that one season’s blooms can become next year’s bounty. With gentle care, your tubers can thrive for many years and even multiply
Let’s go over some final Dahlia Tuber Care Tips to help you enjoy strong, reliable blooms season after season.
Reusing Tubers Year After Year
Dahlias aren’t one and done flowers. In fact, tubers improve with age
- Store them well each winter
- Replant only the healthiest each spring
- Keep notes on which varieties perform best in your space
I have a patch of Café au Laits that’s been blooming strong for six years thanks to simple, consistent care.
Dividing Tubers Without Damaging Them
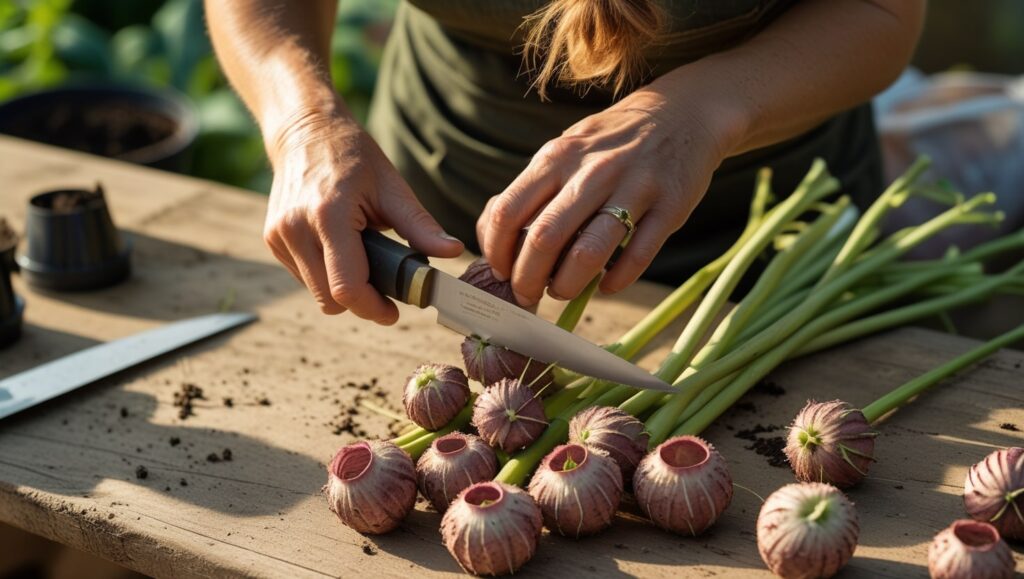
After a season of growth, tubers often multiply underground. Dividing them helps prevent overcrowding and gives you more plants
Here’s how:
- Wait until spring when eyes are visible
- Use a clean, sharp knife to cut clumps into individual tubers, each with one eye
- Dust cuts with sulfur and let them dry 1–2 days before planting or storing
Flora’s Tip: Don’t rush division go slow and be gentle.
Starting with Healthy Stock
All the care in the world can’t save a weak tuber. Start with healthy, reliable sources.
Buy from:
- Reputable flower farms or growers
- Trusted seed catalogs with customer reviews
Avoid:
- Discount store packs that look moldy or dry
- Overcrowded bins at big box stores
If you’re swapping with friends, inspect carefully before planting.
Conclusion
Caring for dahlia tubers might seem like a lot at first, but with each step from careful storage to gentle planting and nurturing growth you’re building a beautiful foundation for years of stunning blooms. Remember, every gardener faces challenges, but your patience and attention will pay off with vibrant flowers that light up your garden and heart.
Keep these Dahlia Tuber Care Tips close and don’t hesitate to learn from every season. Your dahlias are more than just plants they’re living reminders of your dedication and love for gardening. So tuck those tubers in safely, nurture them thoughtfully and look forward to a colorful, flourishing garden year after year.
Happy gardening, friend
FAQs
Q1: Can I leave my dahlia tubers in the ground over winter?
If you live in USDA Zones 8–11, yes! In colder zones, tubers will freeze and rot unless lifted and stored. A heavy mulch layer may protect them, but it’s risky.
Q2: My tubers are sprouting early in storage. What should I do?
Move them to a cooler, darker location. If shoots are long and pale, trim them slightly and plant as soon as the weather allows
Q3: Do I need to divide my tubers every year?
Nope! You can skip a year if the clump is still manageable. But dividing regularly helps maintain plant vigor and prevents rot.