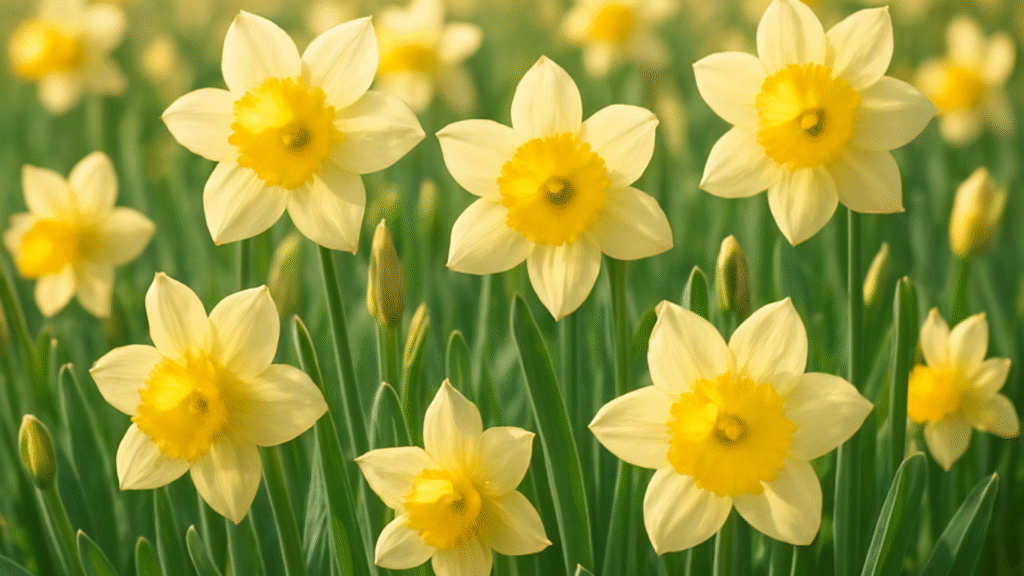
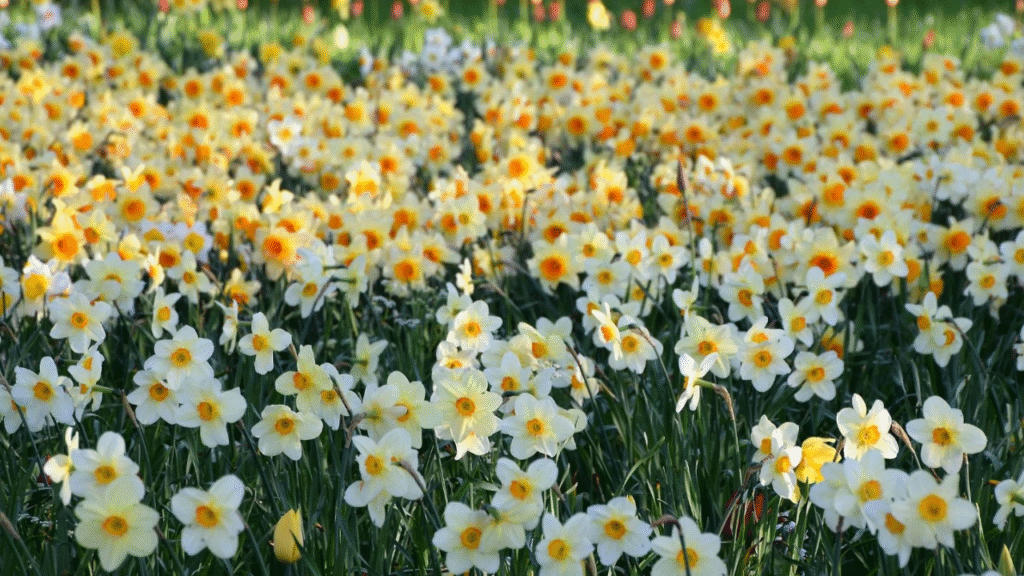
Every spring, just as the last traces of winter melt into the soil my heart lifts with the golden trumpet of the first daffodil. It’s like a promise whispered by the garden beauty returns, year after year. But I’ll be honest with you those cheerful blooms don’t keep showing up as strong unless we give them a little help.
I learned that the hard way. Years ago, my daffodils started blooming less and looking tired and I couldn’t figure out why. Turns out, they were begging for space. That’s when I discovered the magic of transplanting daffodil bulbs a gentle grounding ritual that not only revives the flowers but reconnects me with the rhythm of the garden.
So, if you’re noticing your daffodils dwindling or simply want to spread their joy to new spots in your yard, I’ll walk you through it all from when to transplant, to how to lift and replant without harming your precious bulbs. Let’s get our hands in the dirt, shall we?
Why and When to Transplant Daffodil Bulbs
Just like people, daffodils thrive when they have space to grow and breathe. Over time, bulbs multiply underground crowding each other and competing for nutrients. If you’ve noticed fewer blooms, smaller flowers or leaves that look lush but bloomless your daffodils are sending a signal it’s time for a change.
Signs Your Daffodils Need Transplanting
Here are a few clues I’ve learned to watch for:
- Fewer or no blooms in spring, even though leaves are healthy
- Tightly packed clumps of bulbs visible just below the soil
- Daffodils blooming unevenly or only on the outer edges of a group
- Bulbs popping up too close to the surface
If you’re seeing these signs, don’t worry it doesn’t mean you’ve done anything wrong. It just means your bulbs are ready to stretch out a little. And trust me, once you divide and replant them they’ll reward you beautifully.
Best Time of Year to Move Daffodil Bulbs
Timing is everything with transplanting daffodil bulbs. You’ll want to wait until the foliage has completely died back after blooming usually in late spring or early summer. This is when the bulbs are dormant and safest to move.
Tip from my own garden: I tie a little colored twine around the spent foliage before it disappears so I can find the exact location later. It’s a lifesaver when you’re working in a full bed
Avoid transplanting in fall when the roots are starting to form or in spring when they’re actively growing. Daffodils are tough but disturbing them during active growth can set them back.
Understanding the Daffodil Growth Cycle
Knowing how daffodils grow helps us care for them wisely. Here’s a quick breakdown of their cycle:
| Growth Stage | What’s Happening Underground | Best Gardening Action |
|---|---|---|
| Early Spring | Bulb sends up shoots and flowers | Watch and enjoy blooms |
| Late Spring to Early Summer | Leaves gather energy for next bloom | Do NOT cut foliage early |
| Mid to Late Summer | Bulbs go dormant | Best time for lifting and dividing |
| Fall | Roots start growing again | Finish transplanting before this |
| Winter | Bulbs rest and chill below the surface | Mulch if needed; otherwise, let them rest |
Understanding this rhythm lets you work with your garden not against it. And that’s what makes gardening feel so soulful it’s not about control it’s about connection.
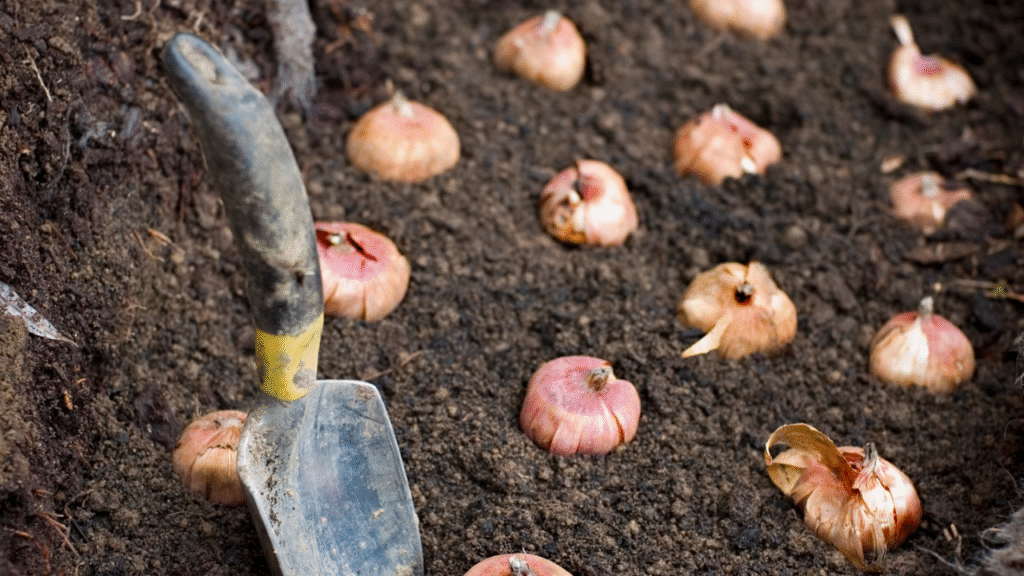
How to Lift and Divide Daffodil Bulbs Safely
Lifting daffodil bulbs feels like unearthing treasure. Seriously every time I do it, I feel like a little kid discovering something magical under the soil. But it’s also a moment that calls for care and gentleness.
Tools You’ll Need for Digging and Dividing
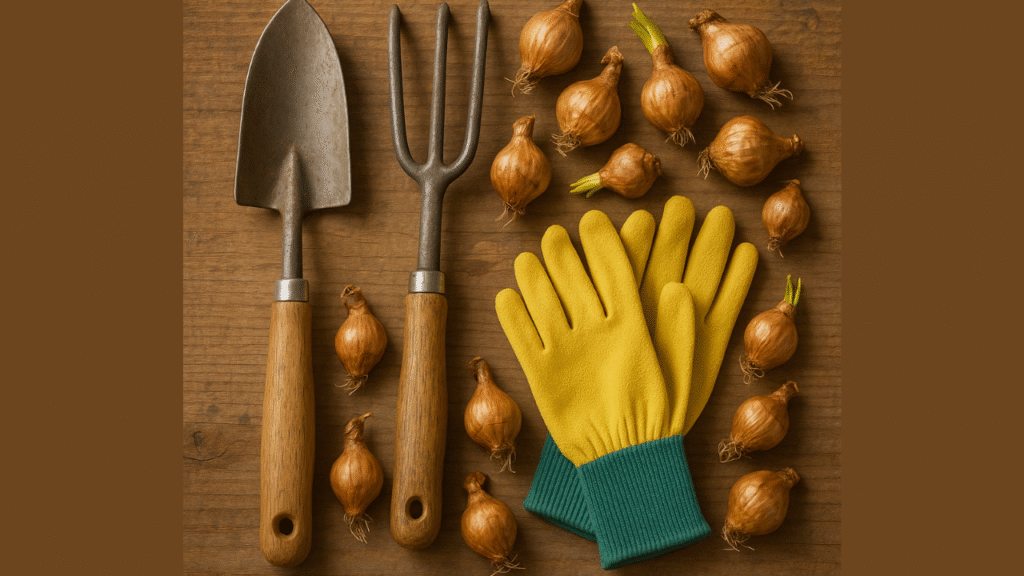
You don’t need anything fancy Just gather:
- A garden fork or spade (I prefer a fork for less damage)
- A small hand trowel
- A bucket or tray for sorting bulbs
- Gardening gloves (optional, but helpful)
- Labels or markers if you’re transplanting multiple varieties
Tip: If your soil is heavy clay, dig after a light watering or rain it’ll be softer and easier to work with.
Step-by-Step: How to Lift Daffodils Without Damage
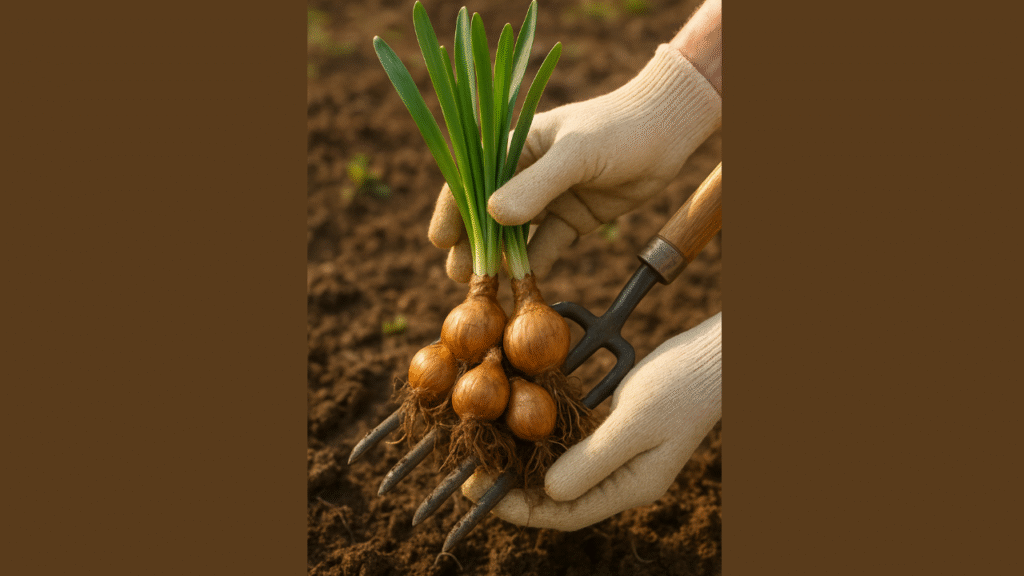
Here’s my tried and true method:
- Wait until the foliage has fully yellowed and dried.
- Loosen the soil around the clump using your fork start about 6 inches away from the leaves.
- Gently lift the entire clump don’t yank or tug.
- Shake off excess soil and place bulbs in your tray or bucket.
- Label the bulbs if you plan to plant them in different areas.
And remember, handle bulbs gently. Bruising can lead to rot later.
How to Separate and Inspect Bulbs for Replanting
Now for the fun part dividing
- Gently pull apart the bulbs. Each “daughter” bulb should break away cleanly.
- Inspect for soft spots, mold, or signs of rot discard any unhealthy ones.
- Keep only firm, plump bulbs with intact skins and roots.
Beginner’s Tip: Even smaller bulbs (called offsets) can be replanted They might not bloom the first year, but they’re full of promise.
Choosing the Right Spot for Replanting
Now that your bulbs are lifted and ready, let’s talk about their new home. Daffodils are low-maintenance, but like any flower they thrive when you plant them with intention.
Sunlight, Soil, and Drainage Requirements
Daffodils love full to partial sun about 6 hours of sunlight per day is ideal. In my experience, planting them near deciduous trees works beautifully because the trees leaf out after the daffodils bloom.
Here’s what they need to thrive:
- Well-draining soil – waterlogged bulbs will rot
- Neutral to slightly acidic pH – around 6.0 to 7.0
- Loamy or sandy soil – amend clay-heavy beds with compost or sand
Tips for Preparing the Planting Site
Before replanting, I always:
- Loosen the soil to at least 8–10 inches deep
- Mix in well-rotted compost to boost nutrients
- Remove rocks, roots or weeds
- Sketch a quick layout (yes, even on scrap paper) so I know where each variety is going
This prep work might feel like an extra step, but it pays off in strong, healthy blooms come spring.
Naturalizing Daffodils in Lawns or Meadows
If you dream of drifts of golden daffodils across your yard, you’re not alone I tried this in my own back meadow and it’s now my favorite view each spring.
To naturalize:
- Choose a grassy area that isn’t mowed until late spring
- Use a bulb planter to tuck bulbs into the lawn at random spacing
- Aim for clumps of 5–7 bulbs to create natural-looking clusters
- Mark the area so you don’t mow over them too soon
It’s a bit wild and a lot wonderful.
Step-by-Step Guide to Replanting Daffodil Bulbs
Once the site is ready, it’s time to give your bulbs their new start. Here’s how I do it:
How Deep and How Far Apart to Plant
As a rule of thumb: plant bulbs 2–3 times as deep as they are tall.
| Bulb Size | Planting Depth | Spacing Between Bulbs |
|---|---|---|
| Large (1.5–2″) | 6–8 inches deep | 4–6 inches apart |
| Small offsets | 4–6 inches deep | 2–4 inches apart |
Group bulbs in odd numbers (like 3, 5, or 7) for the most natural, full look.
Watering and Mulching After Transplanting
Once planted, give the area a thorough soak enough to settle the soil around the bulbs. This first watering is essential, even if the bulbs are dormant.
Then:
- Add a light layer of mulch or straw to keep moisture in and weeds out
- Avoid heavy mulch over winter unless you’re in a zone with deep freezes
- Water lightly if the fall is dry, but don’t overdo it dormant bulbs don’t need much
Common Mistakes to Avoid When Replanting
I’ve made a few of these in my early years, so let me help you skip them:
- Planting too shallow -leads to frost damage and weak stems
- Overwatering in fall – causes rot
- Cutting foliage too early – the bulb needs time to store energy
- Mixing up varieties – label them clearly during transplant!
Daffodils are forgiving but giving them the best start will ensure they bloom brighter.
Caring for Transplanted Daffodils
Now that they’re tucked in, it’s time to let nature do her thing. But there are still a few things you can do to support your daffodils along the way.
What to Expect in the First Growing Season
Transplanted bulbs may take a year to fully settle in especially if they were moved while still small or recently divided. Some might bloom a little later or more lightly their first season but don’t worry.
They’re just putting down roots literally.
By year two, most of your daffodils will be blooming as fully as ever maybe even better than before
Fertilizing Tips for Healthy Blooms
Daffodils don’t need heavy feeding, but I like to give them a little boost:
- Apply a balanced slow-release fertilizer (like 10-10-10) in early spring as shoots emerge
- Avoid high-nitrogen mixes they’ll give you lots of leaves and few flowers
- Optional: a light bone meal sprinkle at planting time helps with root development
Tip: Always water after fertilizing to help nutrients soak in.
Managing Pests and Diseases
Luckily, daffodils are deer and rodent resistant, which makes them a dream to grow. Still watch out for
- Narcissus bulb fly – discard any squishy or hollow bulbs
- Fungal rot – prevent this with well drained soil and clean tools
- Snails/slugs – rarely a big issue, but you can sprinkle crushed eggshells around if needed
Clean gardening habits go a long way. Sterilize tools, rotate planting spots if possible and discard any diseased bulbs to keep your patch healthy.
Conclusion: A Garden Grows with Love and Patience
Transplanting daffodil bulbs may seem like a small task but it holds the power to rejuvenate not only your flowerbeds but your connection to the natural world. I’ve found that every time I kneel down to lift a bulb, clean the soil from its skin and replant it with care, I’m reminded of life’s beautiful cycles growth, rest and renewal.
Whether you’re moving just a few daffodils or refreshing an entire border, know this you’re not just gardening. You’re participating in a quiet, hopeful act that will reward you for seasons to come.
So don’t worry if everything doesn’t look perfect right away. Some blooms take time. And like your garden, you’ll learn, adjust and grow with each passing year. I’m cheering you on every step of the way.
Your spring will thank you with color, fragrance and joy.
FAQs
Can You Move Daffodils While They’re Blooming?
Technically yes, but I don’t recommend it. Moving them while blooming causes stress and usually shortens the lifespan of the flowers. If you must transplant in spring, try to take as much soil around the bulb as possible and water well afterward.
How Often Should You Divide Daffodil Bulbs?
Every 3–5 years is ideal. When you notice a drop in blooms or clumps looking overcrowded it’s time. I make a habit of checking mine every few summers, especially in older garden beds.
What If My Transplanted Daffodils Don’t Bloom?
This happens Especially in the first year after moving. Reasons might include:
- Planted too shallow or too deep
- Not enough sun
- Leaves removed too early last season
- Bulbs still adjusting to their new environment
Give them time. In most cases, they’ll bounce back by the following spring.