Every time I create a bouquet, I think back to the first time I tried arranging flowers. I was standing in my small kitchen, surrounded by a jumble of blooms from my garden—roses, zinnias, a few scrappy stems of eucalyptus—and I had no idea where to start. The colors clashed, stems wobbled, and I remember thinking, “Maybe I’m just not a flower person.” But the truth? Flower arrangement design isn’t about perfection—it’s about joy, playfulness, and learning to see beauty in your own way. Over the years, I’ve discovered that anyone, even complete beginners, can create arrangements that feel fresh, balanced, and personal. All it takes is a little guidance, the right tools, and the courage to trust your instincts.
If you’ve ever felt intimidated by elaborate floral displays, take a deep breath. I promise—by the end of this guide, you’ll not only know the basics of flower arrangement design, you’ll feel excited to pick up your first bunch of blooms and start creating magic.
Introduction to Flower Arrangement Design
Why Learning Floral Arranging Is Easier Than You Think
Many beginners imagine that floral design is some mysterious art reserved for fancy florists with studios full of exotic flowers. But here’s my secret—it’s really about developing an eye for balance and using a few simple techniques over and over.
When I started, my “arrangements” were little more than jars of flowers I plunked in water. And yet, even those early attempts brought me joy. With time, I learned that a few easy principles—like placing taller stems toward the back, working in odd numbers, and grouping similar flowers—can make any bunch of blooms look intentional. You don’t need hundreds of dollars’ worth of flowers or rare varieties. Grocery store blooms, farmers’ market finds, or clippings from your own garden are more than enough to create something stunning.
The most important thing is to start, experiment, and remember: flowers are forgiving. Even if your design isn’t perfect, they’ll still be beautiful.
The Art and Science Behind Beautiful Arrangements
Floral design is a dance between art and science. The “art” comes from your creative choices—color palettes, textures, and the mood you want to evoke. The “science” is about structure, balance, and understanding how different flowers behave in water.
For example, knowing that hydrangeas drink from both their stems and petals can keep them fresh longer. Understanding that tulips keep growing after they’re cut will help you design with their movement in mind. And learning the rule of thirds or triangular composition will help your arrangements look balanced instead of flat.
When you combine these artistic instincts with practical know-how, you’ll create arrangements that last longer, look fuller, and bring joy to everyone who sees them.
Essential Tools and Supplies for Beginners
Must-Have Florist Tools for Perfect Arrangements
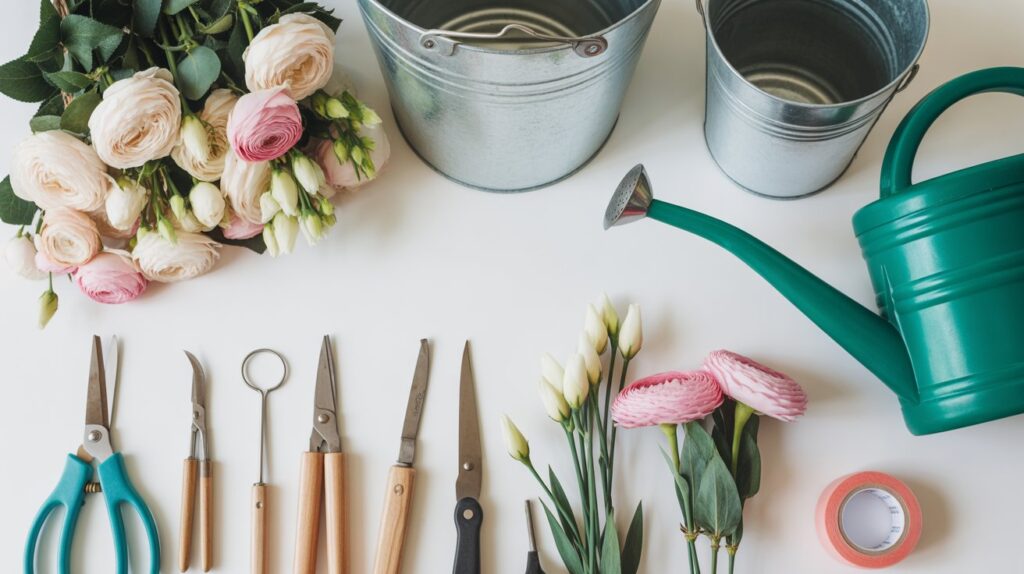
Before you start snipping stems, it’s worth investing in a few basic tools that will make arranging much easier:
- Sharp floral shears or scissors – Prevents stem damage and allows flowers to take in more water.
- Floral knife – Great for trimming woody stems or precise cuts.
- Watering can or jug – For filling vases without disturbing your design.
- Flower food packets – Keeps blooms hydrated and nourished.
- Clean buckets – For conditioning flowers before arranging.
Flora’s Tip: Skip the kitchen scissors—they can crush delicate stems, making it harder for flowers to drink water. A good pair of floral shears is worth every penny.
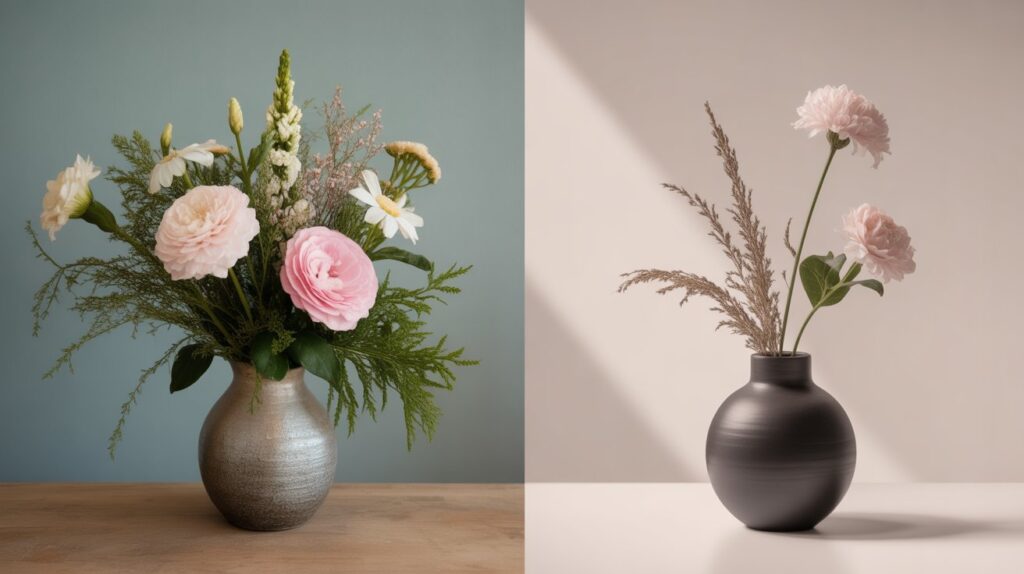
Choosing the Right Vases and Containers

Your vase is more than just a vessel—it’s part of the design. The wrong container can make a beautiful arrangement look awkward, while the right one will highlight your flowers perfectly.
Here’s a quick guide for beginners:
| Vase Shape | Best For | Example Flowers |
|---|---|---|
| Cylinder | Tall stems | Lilies, snapdragons |
| Wide-mouthed bowl | Low, full arrangements | Peonies, roses |
| Bud vase | Single or few stems | Ranunculus, tulips |
| Mason jar | Rustic styles | Sunflowers, daisies |
Think about proportion—your flowers should be roughly 1.5 times the height of your vase for a balanced look.
Floral Foam, Tape, and Other Helpful Accessories
When you’re just starting, flowers can have a mind of their own, flopping in every direction. That’s where accessories come in:
- Floral foam – Holds stems firmly in place, great for structured designs.
- Floral tape – Creates a grid across vase openings for even stem spacing.
- Chicken wire – A sustainable alternative to foam for larger arrangements.
- Flower frogs – Small, weighted tools that keep stems upright in shallow containers.
While I love the natural, foam-free method, I always tell beginners to experiment with different supports until they find what works best for their style.
Common Mistakes to Avoid in Flower Arranging
Overcrowding or Gapping
When I first started arranging flowers, I thought packing as many stems into a vase as possible would make it look lush. Instead, it looked cramped and heavy. On the flip side, leaving big empty gaps can make an arrangement feel sparse and incomplete. The sweet spot? Give each stem breathing room while ensuring the arrangement still feels full. I like to start with a balanced base, then fill in spaces with smaller blooms or foliage.
Ignoring Flower Care and Water Changes
Even the most beautiful arrangement can droop quickly if you don’t care for it. Many beginners forget to change the water daily or trim stems every couple of days. Stagnant water breeds bacteria, which clogs stems and shortens bloom life. Treat your flowers like living things—they’ll reward you with longer-lasting beauty.
Poor Color or Size Balance
Sometimes, a bouquet looks “off” without you knowing why. Often, it’s because the flower sizes or colors are competing instead of complementing. If you have bold, large blooms, balance them with smaller, delicate flowers. When using bright colors, anchor them with soft neutrals or deep greens.
How to Make Your Arrangements Last Longer
Water Temperature and Flower Food
Different flowers respond to different water temperatures, but as a general rule, use room-temperature water for most blooms. Add flower food to feed and hydrate them—this little packet really does make a difference. For bulb flowers like tulips, cooler water helps slow their growth.
Trimming Stems the Right Way
Always trim stems at a 45-degree angle. This increases the surface area for water uptake and prevents the ends from sitting flat at the bottom of the vase. For woody stems like hydrangea or lilac, a quick split at the bottom helps them drink more efficiently.
Placement Tips to Prevent Wilting
Keep arrangements away from direct sunlight, heating vents, or fruit bowls (fruit releases ethylene gas, which can make flowers age faster). I love placing mine in cool, shaded spots where I can enjoy them without the blooms wilting prematurely.
Creative Ideas to Practice Your Skills
DIY Flower Arrangements for Special Occasions
Practicing with purpose makes learning more fun. Try making centerpieces for family dinners, birthday bouquets for friends, or seasonal wreaths for your front door. These low-pressure projects give you room to experiment.
Seasonal Arrangement Challenges
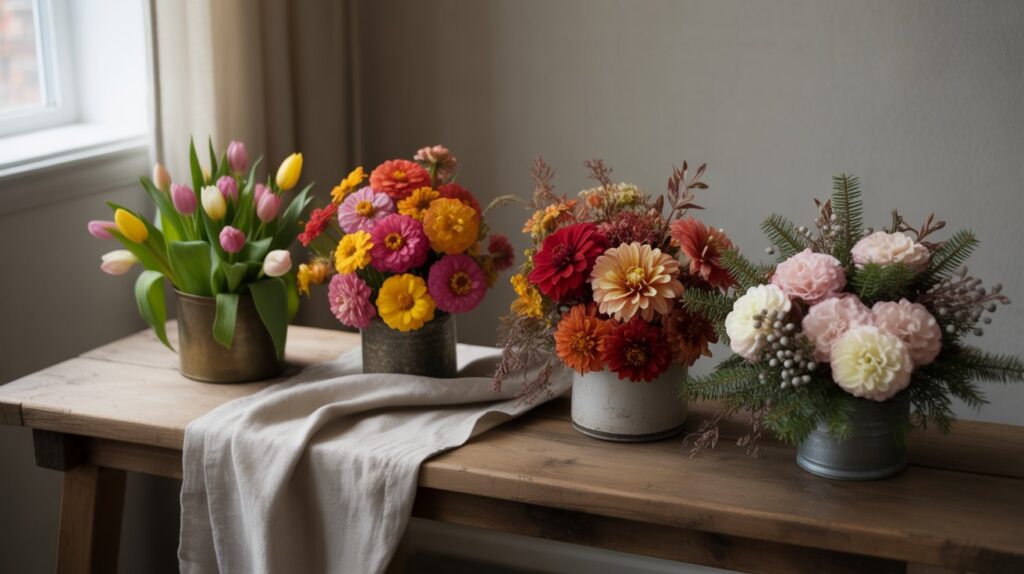
Each season brings unique blooms—spring’s tulips, summer’s zinnias, autumn’s dahlias, winter’s evergreens. Challenge yourself to create one arrangement per season, focusing on what’s naturally available. It’s a great way to develop your eye for seasonal color palettes.
Repurposing Grocery Store Flowers
I’ve always believed that beauty is about how you arrange things, not how expensive they are. Buy an inexpensive mixed bunch from the grocery store, take it apart, and redesign it with better balance and flow. You’ll be amazed at the difference a little rearranging can make.
Final Thoughts and Beginner’s Inspiration
How Practice Turns into Personal Style
The more arrangements you make, the more you’ll notice your personal style emerging. Maybe you love wild, free-flowing designs, or perhaps you gravitate toward neat, symmetrical shapes. Neither is wrong—flowers are an extension of your personality.
Next Steps for Growing Your Floral Design Skills
If this guide sparked your excitement, keep going. Visit farmers’ markets for inspiration, follow floral designers online, or take a local workshop. And most importantly—keep your clippers handy. Every bunch of blooms is another chance to learn, create, and bring a little more beauty into your world.
FAQs About Flower Arrangement Design for Beginners
Q1: What’s the easiest flower arrangement style for beginners?
A classic round bouquet is the easiest to master. It’s forgiving, works with many flower types, and helps you learn the basics of balance and spacing.
Q2: How do I make my arrangements look fuller without using more flowers?
Use foliage and fillers like eucalyptus, ferns, or baby’s breath. Layer them between focal blooms to create volume without overcrowding.
Q3: How long should a fresh flower arrangement last?
With proper care—fresh water daily, stem trims, and cool placement—most arrangements last 5–7 days, while some hardy blooms can last up to two weeks.