Have you ever paused in your garden, camera in hand and felt your heart skip at the way morning dew sparkles on a petal? I have, many times. As a gardener, I’ve spent years nurturing blooms and as a photographer, I’ve learned that capturing their fleeting beauty is one of the most rewarding experiences.
Every flower carries a quiet story whether it’s a tulip pushing bravely through the soil after winter or a sunflower turning its face toward the light. Taking stunning pictures isn’t about expensive gear or complicated tricks it’s about slowing down, noticing details and honoring the moment. If you’ve ever felt frustrated that your photos don’t match what your eyes see, don’t worry. I’ll share lessons from both my successes and my mistakes so together we can explore how to turn your flowers into timeless images.
Why Flower Photography Is So Captivating
The Beauty of Details in Nature
Flowers are patient teachers of observation. When you look closely through a lens, you start to notice the fine veins of a petal, the geometry of stamens or the subtle blend of colors painted by nature. These details are easy to overlook until we pause to frame them in a shot. For me, it was the first time I photographed a zinnia’s layered petals that I realized photography doesn’t just show us more it helps us feel more. Paying attention to such details transforms ordinary garden walks into extraordinary stories.
Why Flowers Make Perfect Photography Subjects
Unlike restless wildlife or unpredictable skies, flowers give us the gift of stillness. They wait for us to explore angles, adjust settings and experiment with framing. Their endless shapes and colors make them the ideal subject for both practice and creativity. Whether you’re focusing on a single rose or capturing a meadow of wildflowers blooms always offer natural beauty. This is why so many photographers myself included, return to flowers again and again they embody resilience, patience and artistry.
Best Camera Settings for Flower Photography
Aperture, Shutter Speed, and ISO Explained
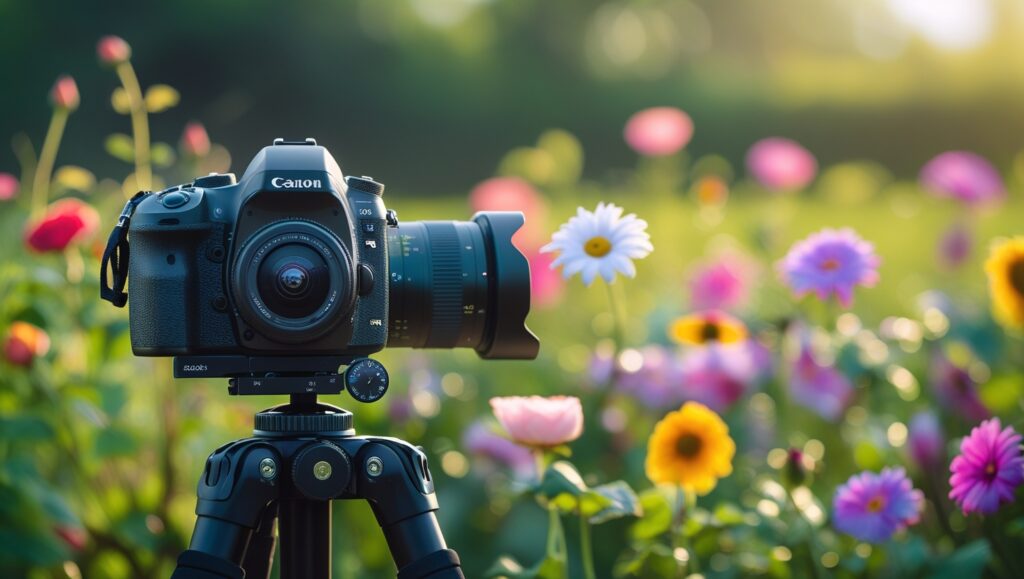
Great flower photos start with mastering three core settings: aperture, shutter speed and ISO.
- Aperture (f-stop): Controls light entering the lens. A wider aperture (f/2.8) gives dreamy blur, while a smaller aperture (f/16) keeps more detail sharp.
- Shutter Speed: Freezes or softens movement. Use fast speeds to capture crisp petals on breezy days; slower ones reveal motion in leaves.
- ISO: Controls sensitivity to light. Lower ISO (100–200) produces clean images, while higher ISO works in low light but can add grain.
Learning how these three settings balance each other is one of the most empowering steps you can take as a photographer.
Using Depth of Field for Background Blur
One way to make flowers stand out is by controlling depth of field. Shooting with a wide aperture (f/2.8–f/5.6) blurs the background, letting the bloom become the star. I often crouch low to align the flower with a distant backdrop so distractions melt into soft color. This simple adjustment can turn an ordinary photo into something artistic.
Recommended Lenses for Flowers
Many lenses can do the job, but some are especially well-suited.
- Macro lens (90–105mm): Ideal for capturing fine textures.
- 50mm prime lens: Affordable, sharp and excellent for background blur.
- Telephoto (70–200mm): Useful for isolating flowers from their environment.
In my own practice, both a simple 50mm and a macro lens opened creative possibilities. Experimenting with lenses expands your style as much as your skill.
How to Use Natural Light for Flower Photography
Best Times of Day (Golden Hour vs. Midday)
Light makes or breaks a photo. Flowers look magical when bathed in soft golden rays early morning or late afternoon. These “golden hours” add warmth and enhance natural colors. Midday sun, on the other hand, often causes harsh shadows and washed-out petals. My favorite time is early dawn, when blooms are fresh with dew and the garden feels still.
Overcast Days for Soft Lighting
Cloudy skies are a blessing for flower photographers. The clouds act as a natural diffuser, softening light and preventing glare. Some of my best shots like a daisy jeweled with raindrops were taken under gray skies. Never underestimate soft, even light.
Avoiding Harsh Shadows and Overexposure
Strong shadows and overexposure can ruin delicate tones. To fix this, position yourself so light falls gently across the bloom. If the sun is strong, shade the flower with your hand or a piece of fabric. Adjust exposure compensation if needed. These small tweaks keep colors true and details crisp.
Composition Techniques for Creative Flower Photos
Rule of Thirds and Leading Lines
Placing flowers in the center often makes photos feel static. Instead, use the rule of thirds—dividing the frame into nine parts and placing the subject along the lines for a more dynamic effect. Leading lines, like a row of tulips drawing the eye to one bloom, also add harmony and flow.
Playing with Angles and Perspectives
Don’t just shoot from above. Crouch low, capture flowers at petal level, or try backlighting to make petals glow like stained glass. One of my favorite shots was a sunflower photographed from underneath, facing the sky. Creative angles often reveal what casual glances miss.
Using Backgrounds to Highlight the Subject
A cluttered background steals attention. I often shift position or adjust height until the backdrop is clean and complementary. Sometimes I even carry a small card to place behind delicate blossoms. A simple background lets the flower shine.
Macro Flower Photography
Choosing the Right Macro Gear
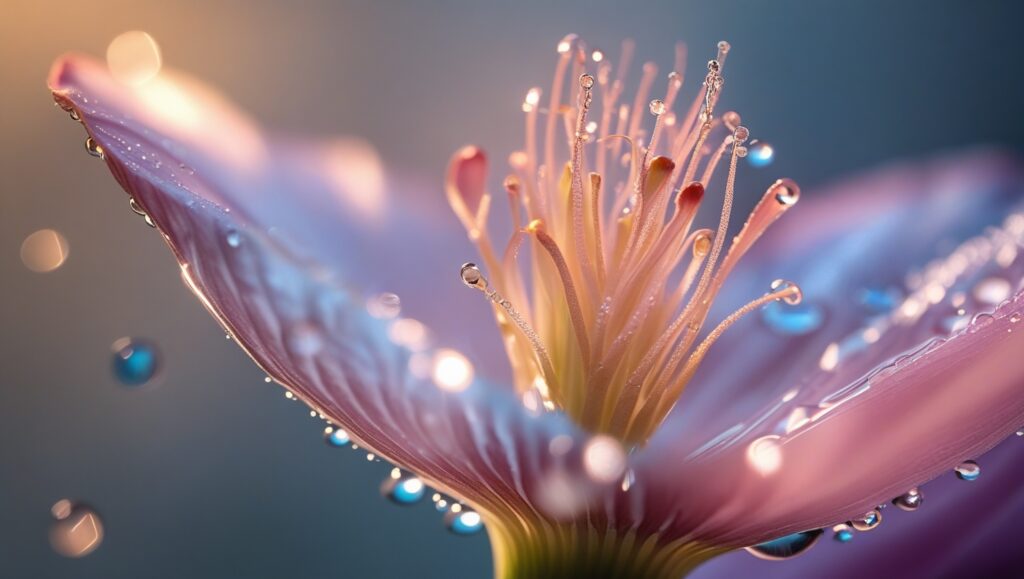
Macro photography lets you step into a flower’s secret world. A dedicated macro lens is best, but extension tubes are a budget-friendly way to explore close-up work. I started with extension tubes, and they were my first step into capturing pollen grains and textures up close.
Focusing Techniques for Sharp Close-Ups
Close-up photography requires patience. Even the smallest shake blurs details. Switching to manual focus and using a tripod helps a lot. I often pause and breathe slowly before pressing the shutter like a meditation practice.
Capturing Tiny Details (Petals, Droplets, Insects)
Some of the most enchanting shots capture small wonders others miss raindrops sparkling, fine hairs on a stem or a butterfly sipping nectar. Use a wide aperture and careful light positioning to bring these details alive.
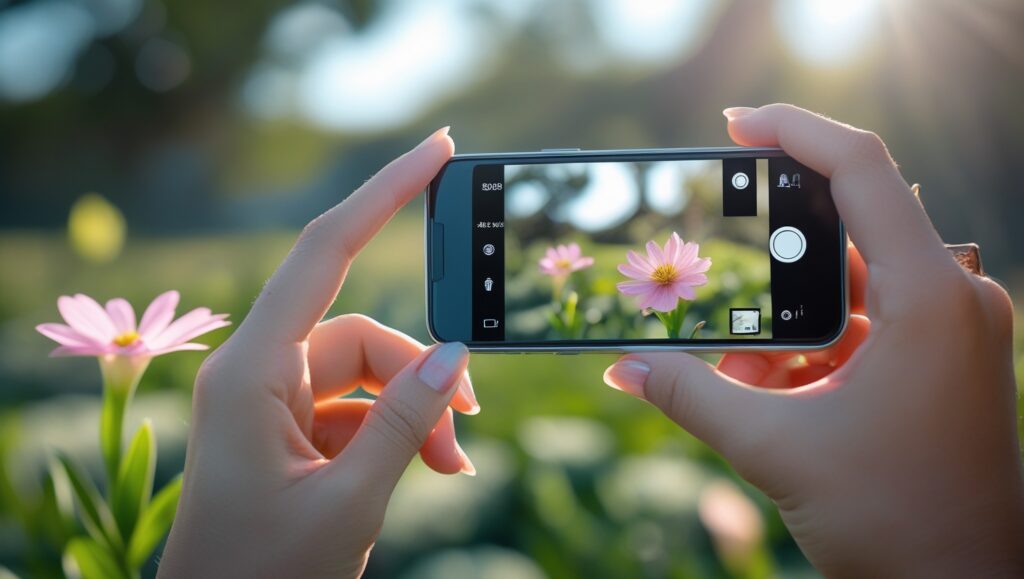
Adjusting Focus and Exposure
Today’s smartphones can take incredible flower photos. Tap to set focus and hold to lock exposure so petals don’t wash out. Even without extra gear, these small adjustments make a big difference.
Using Portrait or Macro Mode
Most phones now have portrait and macro modes. Portrait mode creates a soft background blur, while macro mode captures close detail. I use portrait mode for roses and macro for tiny wildflowers. Switching between them helps get the most out of your phone.
Budget-Friendly Accessories
Clip-on macro lenses, mini tripods or even a sheet of paper as a reflector can boost your phone photos dramatically. Affordable accessories make experimenting easy and fun.
Editing Flower Photos for a Professional Finish
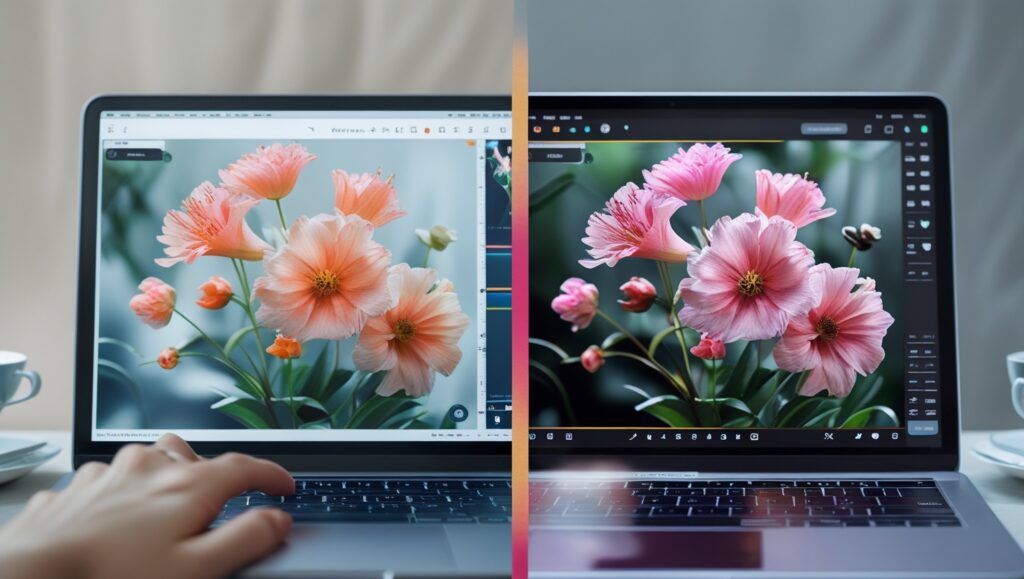
Basic Adjustments
Editing isn’t about changing the photo it’s about polishing it. Adjust brightness and contrast first, then add a touch of saturation to enhance colors. Avoid extremes; subtle changes preserve natural beauty.
Enhancing Colors Without Overdoing It
Every flower already has charm. Adjust hues carefully if the camera misrepresents them (purples are often tricky). Keep edits authentic, enhancing what you saw rather than inventing something new.
Recommended Apps and Software
For beginners, Snapseed and Lightroom Mobile are excellent. More advanced editors might prefer Lightroom or Photoshop on desktop. I use Lightroom to keep my flower collection organized and naturally enhanced.
Common Mistakes to Avoid
Overexposing Bright Flowers
Whites and yellows are easy to blow out. Use lower exposure or check your histogram to save detail. I lost many daisy shots before learning this.
Ignoring Backgrounds
Messy or distracting backgrounds weaken the impact. Always scan the frame and simplify. Clean backgrounds let the flower be the focus.
Relying Too Much on Filters
Heavy filters can make flowers look artificial. Subtle adjustments are better let the natural beauty speak.
Final Thoughts & Inspiration
Developing Your Own Style
Great photography comes from finding your own voice. Maybe you prefer intimate close-ups or wide fields of blooms. Over time, patterns emerge in what you love to capture. Follow those instincts.
Practicing in Every Season
Each season offers something unique: tulips in spring, sunflowers in summer, chrysanthemums in autumn, frosted roses in winter. Photographing across conditions keeps your work fresh and your skills sharp.
Quick Reference Table
| Flower Type | Best Light Condition | Ideal Lens | Unique Feature to Capture |
|---|---|---|---|
| Rose | Golden hour | 50mm / Macro | Petal textures, dew drops |
| Sunflower | Mid-morning light | Telephoto | Bold center, height |
| Daisy | Overcast days | 50mm | Symmetry, white balance |
| Tulip | Early morning | Macro | Color gradients, curves |
| Chrysanthemum | Afternoon soft light | Macro | Dense petals, structure |
Conclusion
Flower photography isn’t just about taking pictures it’s about slowing down, observing closely, and celebrating fleeting beauty. With patience, practice, and mindful technique, you’ll not only improve your photos but also deepen your connection with nature. Remember: every flower has a story, and with your camera, you have the chance to tell it.
FAQs
Q1: Do I need a professional camera for flower photography?
Not at all. Many smartphones capture excellent results when you use light, focus and composition carefully.
Q2: How do I deal with flowers moving in the wind?
Photograph early in the morning when the air is still or create a windbreak with a board or umbrella. A faster shutter speed also helps.
Q3: What’s the best beginner lens?
A 50mm prime lens is versatile, sharp and affordable. It’s a great starting point before moving to specialized macro lenses.

